
Haha! This title is catchy right! You must be wondering, "Har?! 2 dollar can Gmask phone meh, got promotion ah???" Sorry to disappoint you, there's no promotion. But instead, i'm gonna teach you how to DIY Gmask your phone with just 2 bucks!
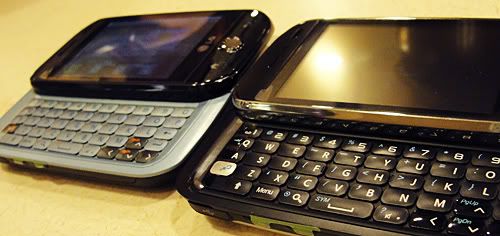
I got my chio Black LG eve awhile ago (Thanks LG Singapore!) I'm so afraid that i might scratch it or something because the previous LG eve that they loan us kena alot alot alot of scratches in my clumsy hands, lucky they gave us a new set :D
So i was thinking of G masking it since it's the best and the nicest way to protect your gadgets. But after looking at the price... IT COST AT LEAST $39 TO GMASK IT LEH! So expensive lor! So the easiest way and cheapest way with $2 is to...
So i was thinking of G masking it since it's the best and the nicest way to protect your gadgets. But after looking at the price... IT COST AT LEAST $39 TO GMASK IT LEH! So expensive lor! So the easiest way and cheapest way with $2 is to...

Cling wrap it!
You can easily buy the whole cling wrapper for just 2 bucks at your friendly nearby mama shop or econ mini mart! Break or tear? Nevermind, cling it again. I bet you can use it for more than 50 times lor! Damn worth it! and it really really works! :D
Congrats on your first G mask! *throw confetti*

Congrats on your first G mask! *throw confetti*
Ok, i'm seriously joking.
Before i go on with my post, can you guess what place i'm hinting? Everything in this store is priced at $2 each. There are several outlets in S'pore, example would be Plaza Sing, Vivocity. The products are mostly from Japan. Can you guess???
Before i go on with my post, can you guess what place i'm hinting? Everything in this store is priced at $2 each. There are several outlets in S'pore, example would be Plaza Sing, Vivocity. The products are mostly from Japan. Can you guess???
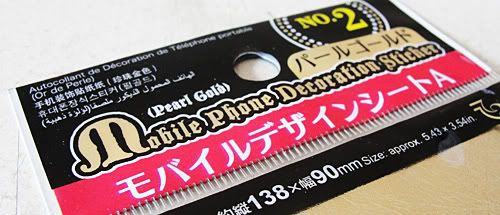
The place is Daiso! The main "actor" of this post is this mobile sticker that cost just 2 bucks from Daiso! Few colours and texture to choose from, so since my LG eve is in black, i shall "mask" it in Gold! Abit too kua zhang and attention seeking =/
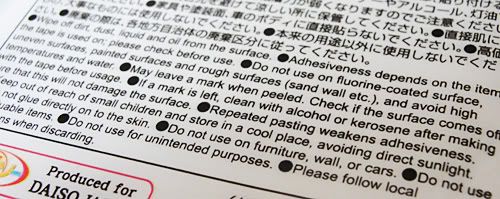
Read the instructions before using it. Something that i don't understand is that, "Do not use it on valuable items", har? So mobile phone not consider valuable ah? Maybe to Japanese, their phones are not that valuable lor... AHAHAHHAHAHA
Ingredients I mean materials you need:
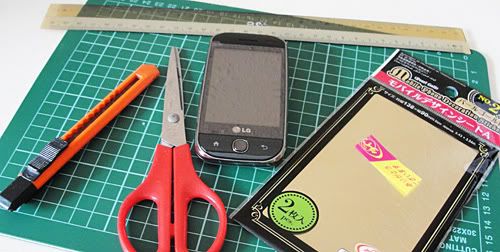
#1: Pen knife
#2: Scissors
#3: Cutting Mat
#4: Mobile sticker
#5: Ruler
#6: YOUR PHONE
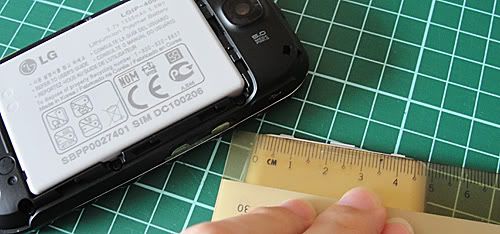
Step #1: Take down all the measurements of the battery cover.
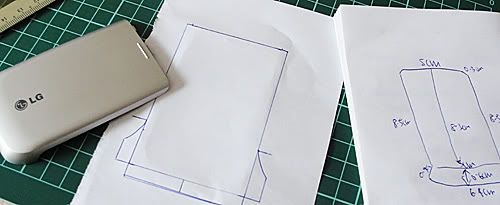
Step #2: Draw a draft on a paper and see if it fits EXACTLY.
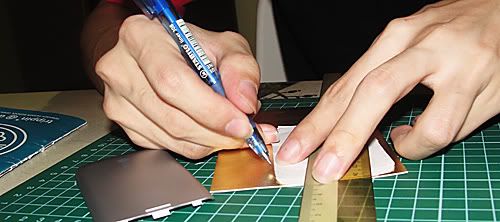
Step #3: Use the paper draft and trace on your mobile sticker.
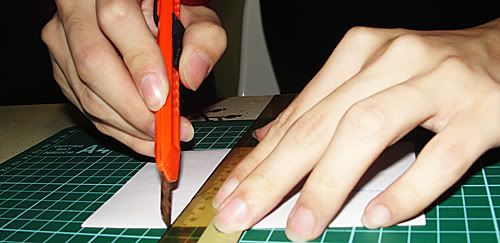
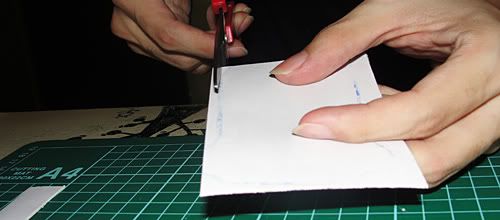
Step #4: Use either the scissors or pen knife to cut out the shape.
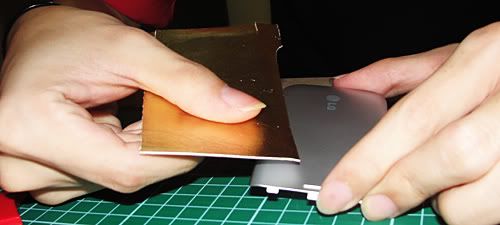
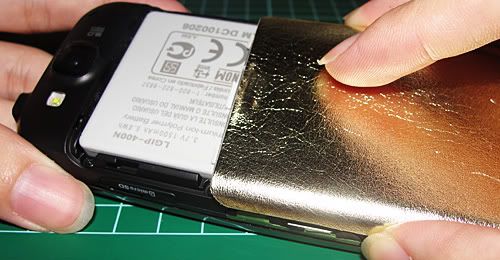
Step #5: Time to stick it onto the battery cover.
Step #6: Press firmly to stick the sticker onto the battery cover. (No bubbles!)
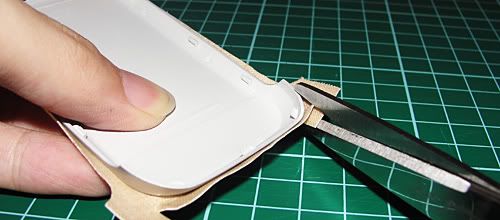
Step #7: Cut off excess sticker.
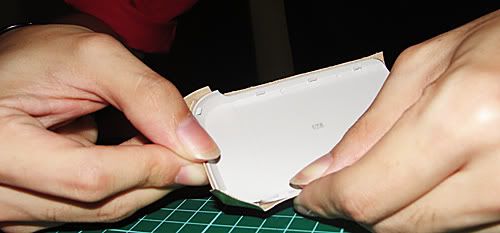
Step #8: Now that it's done, slot the battery cover back to the phone!
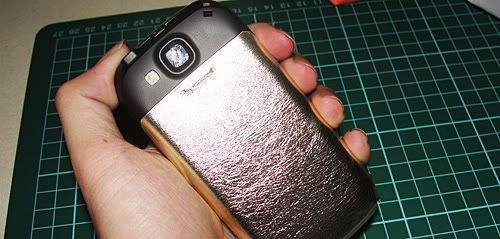
Ta dah! End product! Congrats, you just G masked your.. eh, battery cover!!!
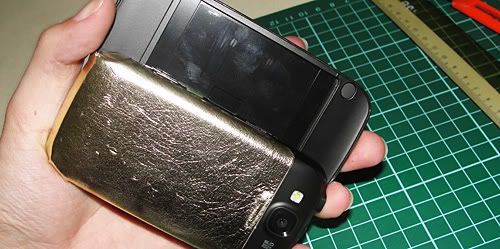
Another photo of the G masked battery cover. Chio-ness much?
So how is this DIY G mask tutorial? It's really 2 bucks right? I never bluff you all right. HOWEVER, it really look much better in photos than the actual thing itself.
After leaving the the phone alone for about 2 hours, the sides start to peel off because it's not sticky enough -__- So i cut off the sides and it's looks fine now :D
Hope you enjoy reading my anyhow DIY G mask tutorial. If you really really want to protect your gadgets, spend that money to Gmask it, it's gonna be worth it. I think.